
Once everything was stripped out of the bathroom and I had decided to expand the footprint of the shower stall, I was left with the challenge of figuring out the best, most cost effective way of getting the perfect shower (for that space). There were a few problems with finding a shower pan. First, because we removed one wall, and the 2" thick cement on the other walls, the drain was no longer centered to anything. Previously, the inside of the shower measured 36"x 44". The new measurement (maxing out the space) is 45" x 46". My choices for a shower pan were as follows: prefab fiberglass/resin, custom crafted mud shower pan, or custom fabricated marble or corian. Wino thought we should just do a custom mud/cement pan and tile it. I know my limitations, mostly, my lack of patience, and was wary of this project. I found a really good video online explaining how to build one of these shower pans. After watching the video, Wino suggested we find an alternative. Smart boy. I found a few websites offering preformed shower bases in a material that could be tiled, to give it a custom look, but the size was not exact and the drains were centered and that meant we would have to move the drain and make the shower smaller by building in the walls, ruining the line of the bath and adding a lot more work. Apparently, standard sizes run 42"x 42", then jump to 48" x 48". I stumbled across a website that offered custom sized bases in a material that would take tile. Actually I found two different products, made two different ways. I chose the one with the simple installation, since the material was basically the same. I was surprised at the quote because it wasn't much more than a prefab tile-ready base, but it was twice the cost of a prefab fiberglass base (once you slap "custom" on anything, it seems to skyrocket the price). If we wanted to keep the size and drain location, this was the best choice. Basically, the base is made of extruded industrial hard foam, formed to specifications, then skinned with a thick waterproof fiberglass mesh/plastic/resin surface that mortar will stick to. The base comes with a 4" threshold, but can also be made ADA compliant. There's also a 5" flange that goes up the wall to help with waterproofing. Check out the details
here. So we order it, I'm excited because the shower is going to be big and this seems like a relatively simple solution. It comes in a huge box, but is very light weight. On the order form, it suggests you minus 1/2" from the dimensions for wiggle room. Well, our space is not quite square, with one end being 1/4" smaller than the other, so I only minus 1/4" off the smallest dimension. When we dry fitted it, it didn't fit in the back corner and I had to remove some furring strips to make room. No big deal, I reinstalled them after the shower base was in. So take the 1/2" wiggle room to heart. The base basically gets glued down using the same modified thin-set used to adhere the tiles. The drain was replaced first, we ordered a new one with the pan. It's three pieces, quite clever. Lots of thin-set, gobs of 100% silicone around the rim of the drain flange, and try to place the pan level without dropping it. Ugh. Once it was in, I stepped into the base to force it down, squishing out any excess mortar. It was pretty level when I checked it so we didn't have to do anything there. My paranoia about the drain led to a 20# weight being positioned over it for 3 days, until I was sure it was set. The modified thin-set is designed to stick to plywood but we chose the extra protection of using cement backerboard over the plywood on the entire floor. We put in some screws about 1/2" from the top of the flange to secure the base to the wall studs.

So the base was in and we continued to install the walls. Heres where the drama happened.
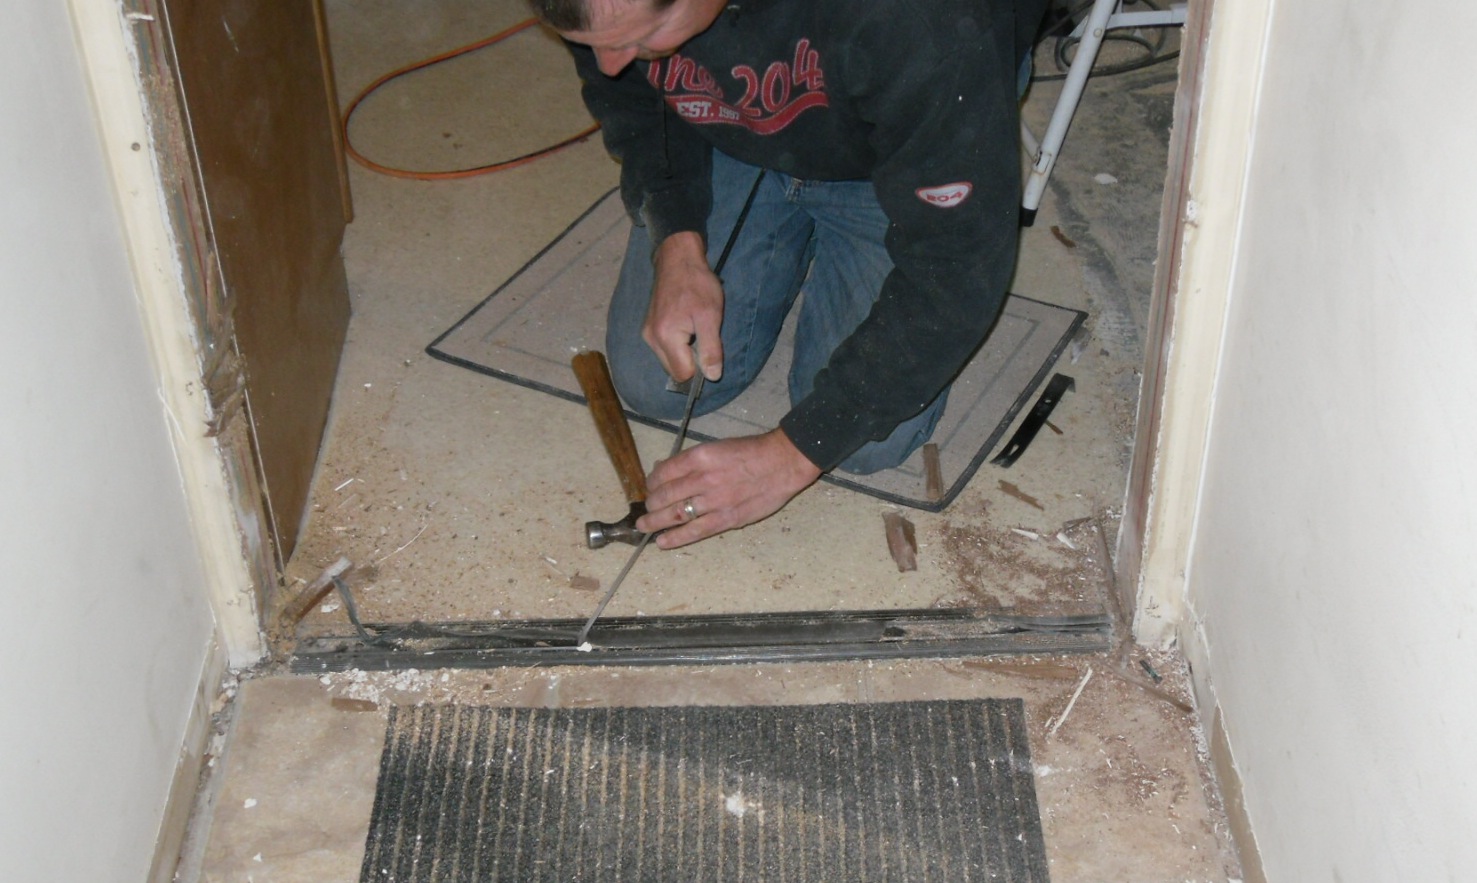
My feeling on this shower base is that it's a little delicate until the tile is installed. I was concerned with something puncturing the surface, negating it's waterproofing. I'm always dropping tools, screws, tape measures, and I thought something might happen. Well, when we were putting the walls in the shower stall up, we needed a step ladder for the top piece. I told Wino, "get the rug pads and some wood to spread out the weight of the ladder feet so they don't puncture the base" (see picture).
Guess what happened. He didn't want to go look in the garage for scrap wood and thought I was over-reacting so he just used the bunched up rug pads and ended up puncturing the base, not once but twice! Now I'm picturing water

penetrating the grout, running down the base towards the weep holes in the drain but being diverted into these potholes, seeping into the foam and collapsing the whole base. I have an active imagination. Wino was banished from the bathroom and I finished the walls myself (we were mostly done). To fix the pothole problem, I filled them with high grade silicone caulk, and decided to look for a waterproofing product to apply to the whole base as a precaution. More on that in the "shower wall and waterproofing" post.
To sum up, I would use this base again, at this point. I'm procrastinating tiling it but so far, it's performed as advertised. Installation was straight forward, and if you can mix mortar (but no lumps!) it's really easy. In the future, if I used this product again, I would be more cautious about the surface until the tile is in. Stepping on it with shoes or bare feet is fine, but ladder feet, not so much.

 Now, I'm not saying I have a lot of stuff in my closet, it's just that it's chock full of my and Wino's clothes, shoes that don't have proper homes, boxes still waiting to be unpacked (sadly) and a sundry of items stuffed onto the upper shelves because I honestly have no idea where else to put them. Add that even though we are in the master bedroom now, our clothes are still in the guest room closet, which is half the size. I really want to start the floor in the guest room but the closet must be cleared first.


 If the door is solid wood, the next step is to put in the trim for the panels. My doors are hollow (see pic) so I cut strips from a 2x4 that would fit into the space between the door surfaces and secured them using a nail gun. Now the trim to hold the panels goes in. I chose to make my own on the table saw with scrap oak in a step pattern but I've bought quarter round profile trim at the home depot before and it works fine and is quicker. Figure how thick the inset panel will be and nail the trim accordingly. Only do one side then paint all the trim, including inside where the glass will sit.


 They discovered a woodchuck living underneath and maybe wild rabbits. When asking me for advice on what to replace the front deck with, I suggested that if the structure was sound, it could be cut down and reused into a much smaller front door landing. This was the route they took. Since it would be easier to see for myself and lend a hand, off I went for a weekend. I will admit, Bunny recently had a baby boy and I really wanted to meet and play with him, ulterior motives.
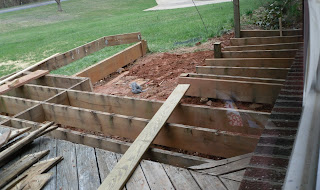


 Once I laid the mat out and cut the mesh where needed, I realized it was going to be one row short, which sucks because that means a cold spot. So I was creative with the purple wire and hot glue, the result can be seen in the photo. I also ended up putting down one layer of the pepto on the floor as an anti-fracture membrane underneath the mat. I know that cracking is probably not an issue with the small tiles that we used but I had it and it only took 20 minutes (and allowed me to put off laying the mat for another day) and who knows with the heating and cooling of the floor? The vanity is along the same wall as the toilet and you don't want the mats under those so that's the unheated space along the inside wall.
 used some scrap wood to make another, more useful jig (see pic) and it really worked better. I also held a smaller piece of moulding in place on the wall and traced the bottom edge, matching the corners so I'd have something to follow once ready to nail them in. Since walls are never straight or perfectly square, I had to re-cut some of the ends when installing, adjusting the angle on the saw. I always cut the first time a little big, exactly for this reason. If the angle is right, the overlap or gap will be uniform. If not, it's an easy indication of where to cut. Being winter and very dry in the house (25% rel. humidity), I let the moulding acclimate for a few days before the install, and I didn't worry about little gaps at the corners. I caulked the corners because come summer, the wood will swell and the caulk will adjust, whereas, with wood fill, it'd end up pushing the fill and then when the humidity comes back down, you'll see cracks in the corners again.

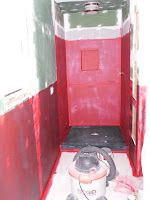 Sold in 2 or 5 gallons, it was expensive, then shipping added $40!! I found a product called "Red Guard" sold at the HD in the flooring department that I think is the same stuff, just packaged for non-professionals. All of the instructions and descriptions are exactly the same as the Pro-Red, but it's packaged in 1 and 3 gallon sizes. Plus, no shipping! When you open the bucket, it's a lovely pepto-pink with a strange pasty consistency. I applied one layer to the drywall outside the shower that was going to be tiled for the wainscoting. I applied it thicker (three layers) on the shower walls. This took a few days because of the dry time between coats. The instructions say for waterproofing the wet layers should not be more than 125 mils thick. Huh? More searching on the internet and I figured 125 mils = 1/8" thick. Ok, now I have an idea of how this goes on. As it dries, it turns a lovely, dark red color, hence the name. Juxtaposed with the green drywall, and the bathroom was holiday festive!
 As to tiling the walls, I used greenboard drywall (the stuff made now has mold treatment in the plaster, not just wax on the paper surface, I asked) and with the Red Guard, was able to tile directly on it using modified thin-set (not the pre-mix stuff!). This saved us serious time and some money in not having to use hardibacker for the wainscoting and drywall above it. It's not in a wet area so there shouldn't be any problems, but behind where the sink will be, I did used scraps of hardibacker we had from the floor. This also got three layers of the Red Guard, since it will be seeing some water in the future. I did not tile behind the sink vanity, since it'll be hidden. I stole an idea from TOH magazine in which this couple used subway tile turned on end to mimic a base board. Clever! I then ran a strip of glass tile, then the subway tile in a brick pattern, then the glass, then bull nose. I'm quite happy with the result.