
 This is the first house I've owned that has an attached garage. In having the garage attached, the door between the house and the garage needs to be a steel 20 minute-rated fire door for it to be code. Ours is a lovely, brown, hollow-core door with a peephole. The peephole is just weird but did make it obvious if the lights were left on in the garage. The door fit fine but had air gaps all the way around when closed. I was once doing laundry and heard this long whoosh sound and realized it was the door, exhaling our precious heated air into the cold garage. Even in the dead of winter, the garage never seemed to get much colder than 55 degrees, now I knew why. Wino solved that problem with more weather stripping than door. After that, the door needed to be slammed, not once but twice to get it to latch. Sometimes, when it's nice out, I wouldn't even bother latching it. Too much trouble, and it threatens to knock over lamps and such in the living room above it. This situation needed to be fixed and I knew we really needed to just put in a fire door but, even though I have replaced many doors, I had only installed one pre-hung door; double french doors into a new opening at the CA house. It had been a while and we didn't have to sort out someone else's messy rough-in. I wanted to make sure that having the door missing for an entire day wouldn't be a problem, like say, doing it during the winter would suck all the heat out of the house. I mentioned this to the HD door guy who said "well, installing a pre-hung door shouldn't take more than 30 minutes!". I just looked at him, smiled and nodded. He's never worked on OUR house. We bought the door a few weeks ago at Lowes, their price on the same door was about $40 cheaper than HD but they only had a few (new item for them) and only one in the right size and handing (which way the door opens) so we bought it that day. Go in for drawer glide, come out with fire door. Sounds about right. Each following weekend, there were things to do, people coming out to visit, other more pressing projects. This was not something I was willing to try by myself, if only because of the thought of trying to hold a door plumb and square, keep it from falling out the hole, then putting screws in it. Well, waiting until Wino had a few free hours seemed like a better idea.
Putting in a pre-hung door, in theory, is much easier than replacing just the door and having to fit the hinges and door to an existing finished opening. Tearing out the old door and the jambs wasn't bad, we used a recip saw and cut the nails holding the jambs in place. It was a little awkward because of how close one side is to some cabinets but it got done in short order. A little cleanup, check the plumb of the rough opening and we're ready to go. We dry fit the door first and realized the brick molding on one side had to be removed and the top corner of molding cut down because of those pesky cabinets.

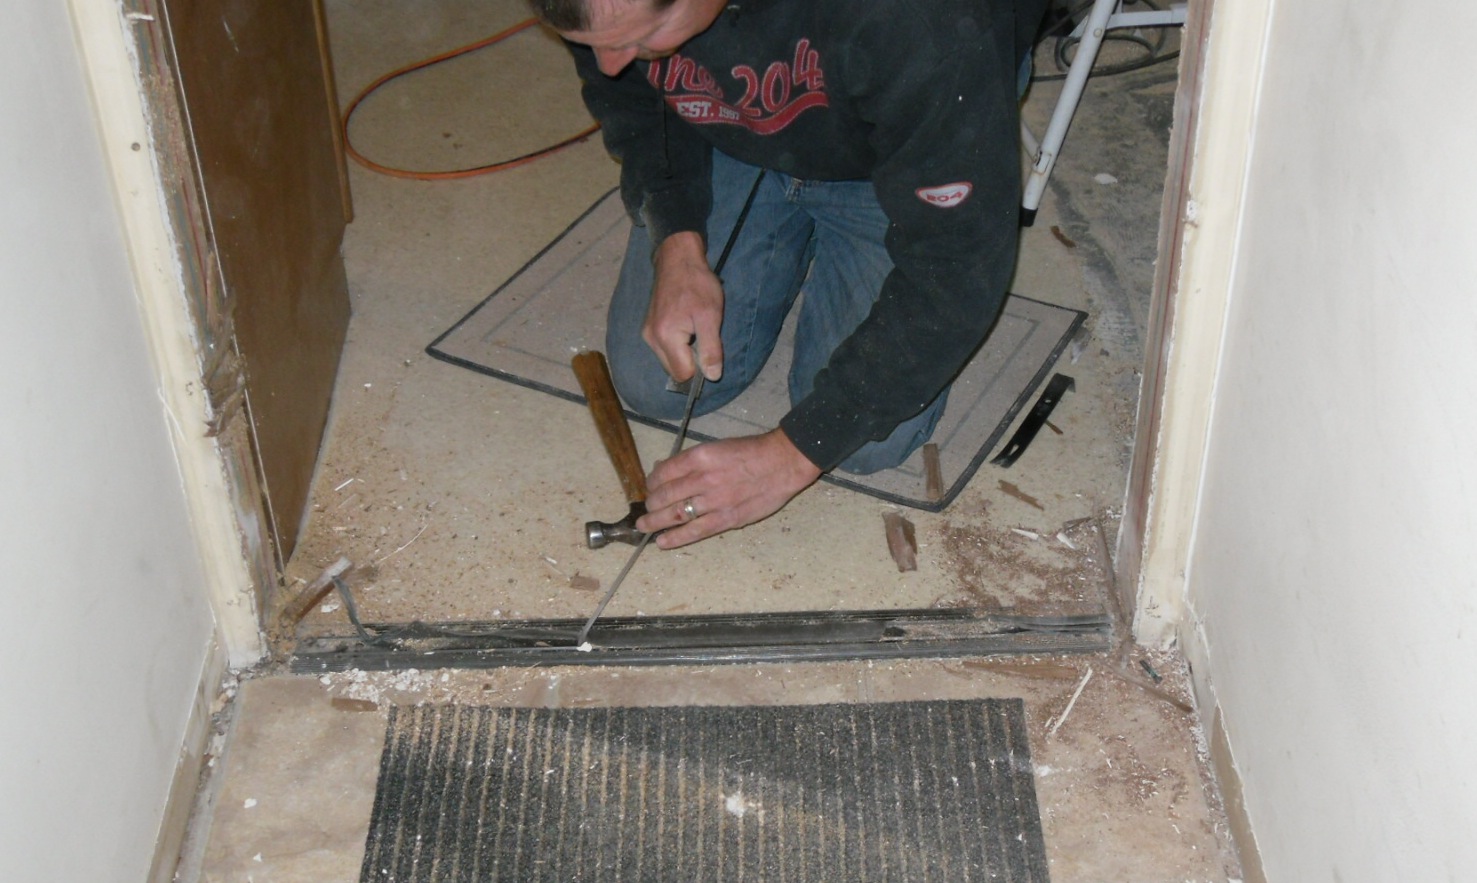
The molding on the outside basically lets you just push the door all the way in, then you can open the door, plumb and level the sides, shim and put in the screws. If the molding is missing on the hinge side, like in our luck, when you open the door to get the jambs to level and plumb, the weight of the open door slowly tweaks out the bottom, the top tweaks in and twists the whole thing. Especially if you aren't paying attention to it because you're trying to make the other jamb perfect. Aaargh! Ok, lets install the hinge side first. Smart. That side's in and I get the little level to check the threshold because the other side wasn't behaving and -what? Is there supposed to be cardboard under it? Crap! Out comes the door, we apparently missed the stealthily placed cardboard that protects the underside of the threshold. Ugh. I had put silicone all along the threshold so it was a gooey mess. No wonder it was off, there were staples sticking out on one side. So we clean up that mess but before we can put the door back in, Wino decides we need proper shims. We were using scraps of wood which admittedly were not the easiest thing to use but he says shims would make everything easier. Oh, is that what would make the install easier? Goodie! So off he goes to Ace for shims and I decide it's time for lunch. Being that it was 10 minutes to 5 on a Sunday evening- crap! late lunch- the Ace was closed and so were the other stores he tried, not willing to drive to Lowes or HD just for shims. So after wasting about an hour looking for shims, Wino came home and made shims himself with wood scraps and the chop saw. There comes a time in all projects where I've learned to just nod my head and move forward. Following the directions that came with the door, we trued up the hinge side and put "temporary" screws in to hold the whole thing together and I left to walk the dogs. Wino finished the screws on the other side, and when I returned, I stuffed some insulation into the gap overhead, hastily installed the deadbolt and latch and called it a night.

The next day was spent re-installing the trim around the door, which oddly did not just go back up. Two tubes of caulk later and I felt the door was relatively weatherproof. Well, until I shut the door standing on the outside with the light on inside. Major gaps from the latch up to half way overhead. It took some adjusting of the strike plate for the latch but it now closes tightly with no gaps, but you still have to pull it shut a bit. It still needs the nail and screw holes patched and the trim and door painted- the door comes primed in grey. All that is a project for another day when I'm avoiding a different project and I can leave the door open for at least several hours.
No comments:
Post a Comment